You my friend do smart, amazing things all day.
You can certainly DIY your flowers and with this bouquet technique!
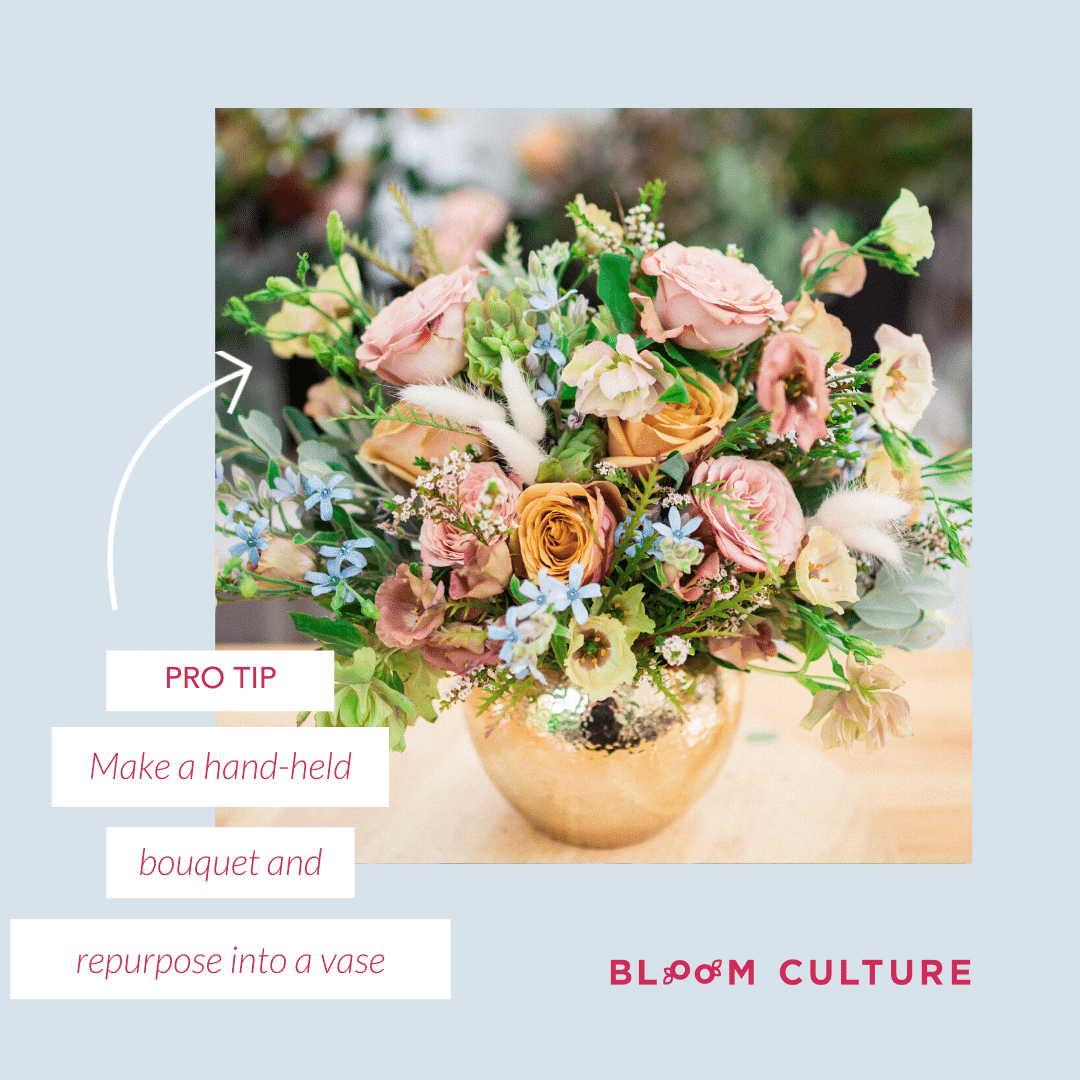
Sure, not everyone is comfortable jumping into DIY flowers with a handheld bouquet. But not to worry, as this is a technique for beginners that will give you the flexibility of working with both hands. We will start arranging in a vase then finish off the bouquet, in your hands, as a handheld bouquet to add the finishing details.
We give you a variety of techniques to choose from to pick what is best for you. Who are we to tell you what you’re most comfortable with!? Also, we don’t believe in a one size fits all wedding, so why would we approach DIY wedding flowers with a one size fits all technique?
We give you options :)
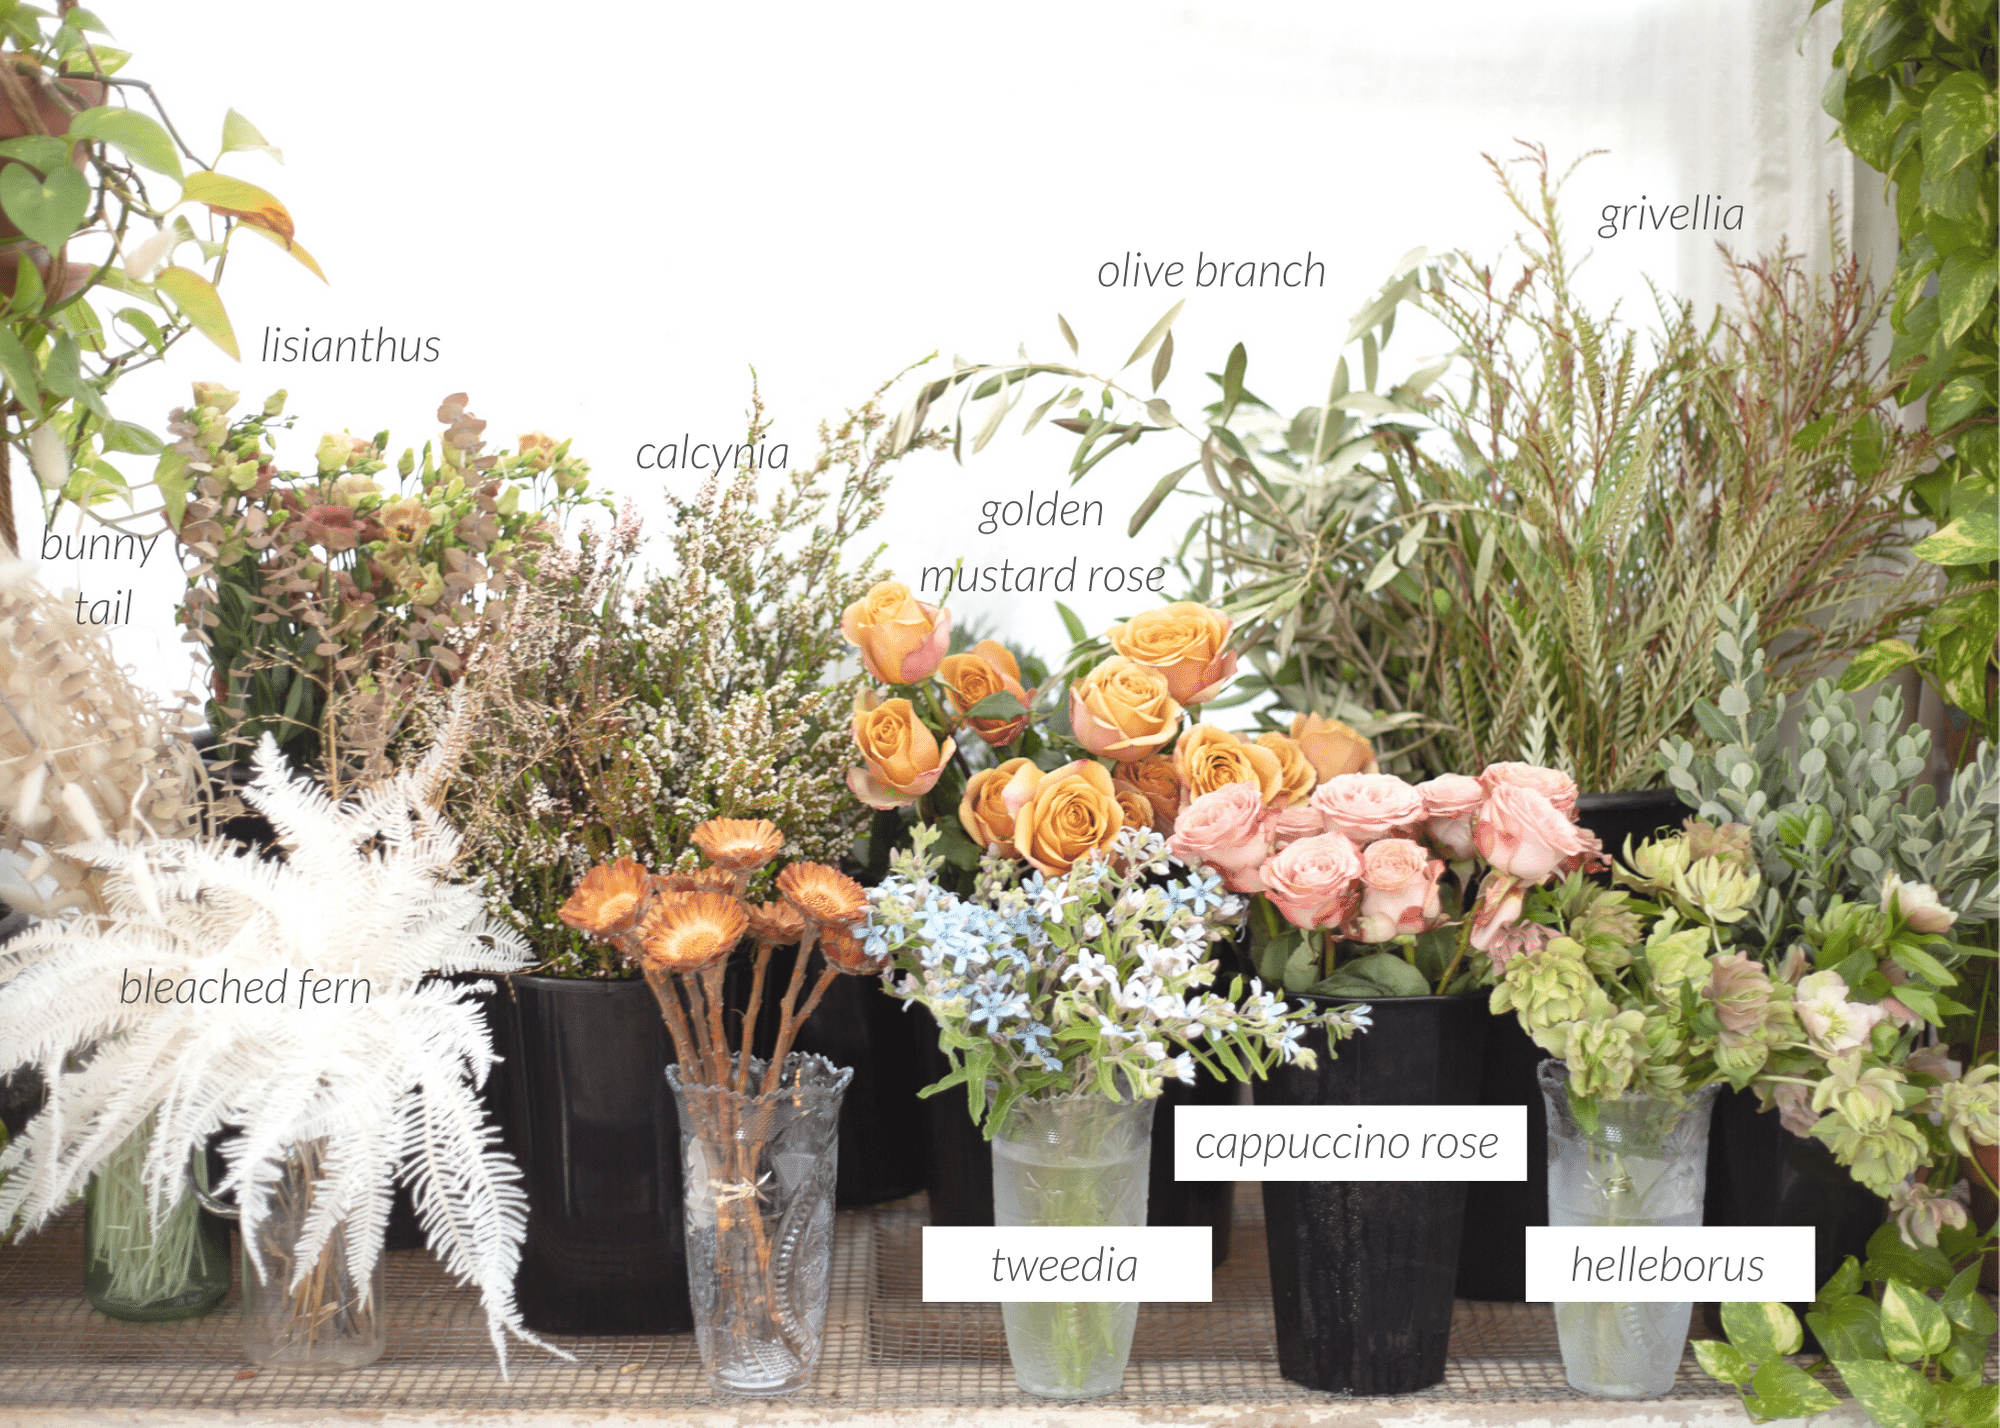
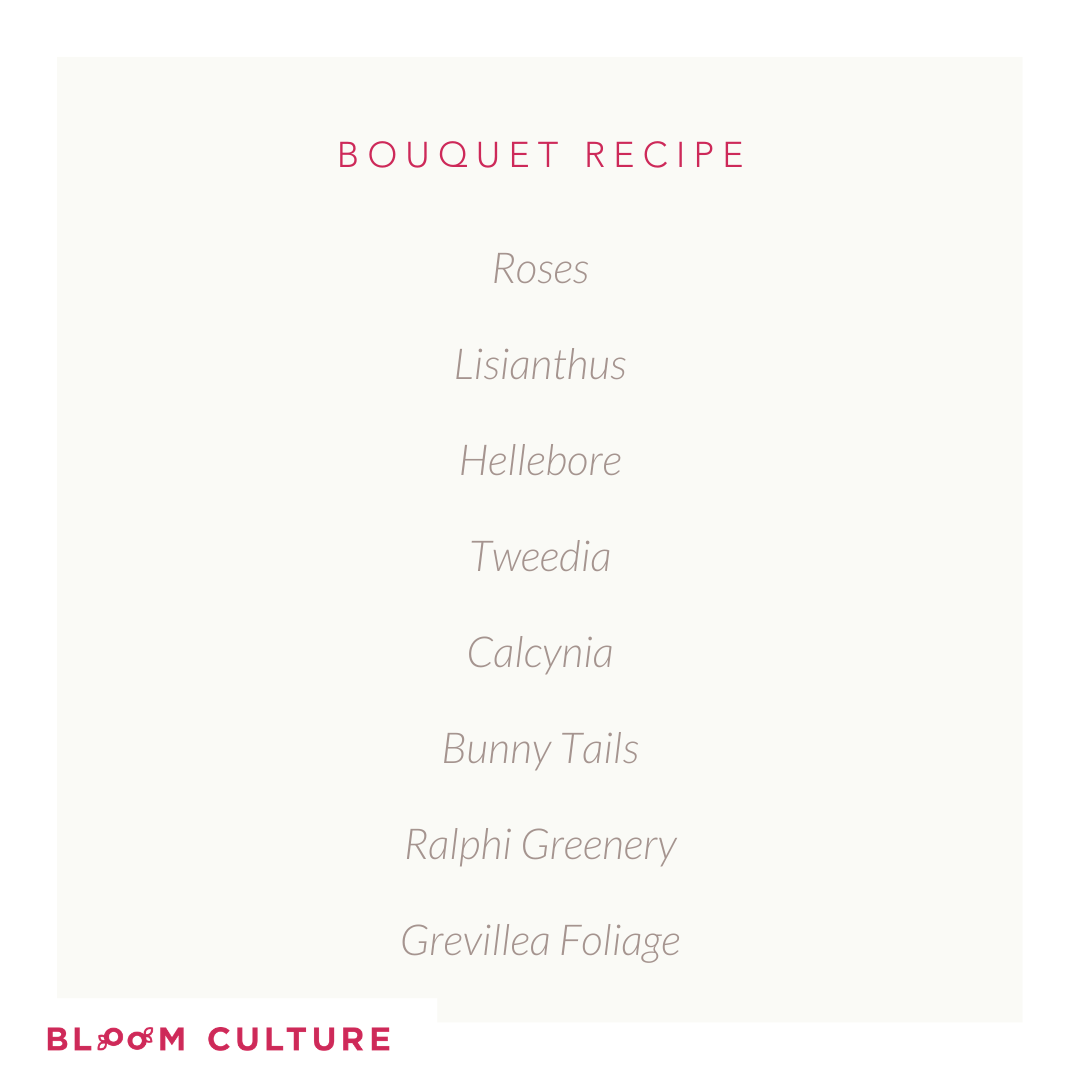
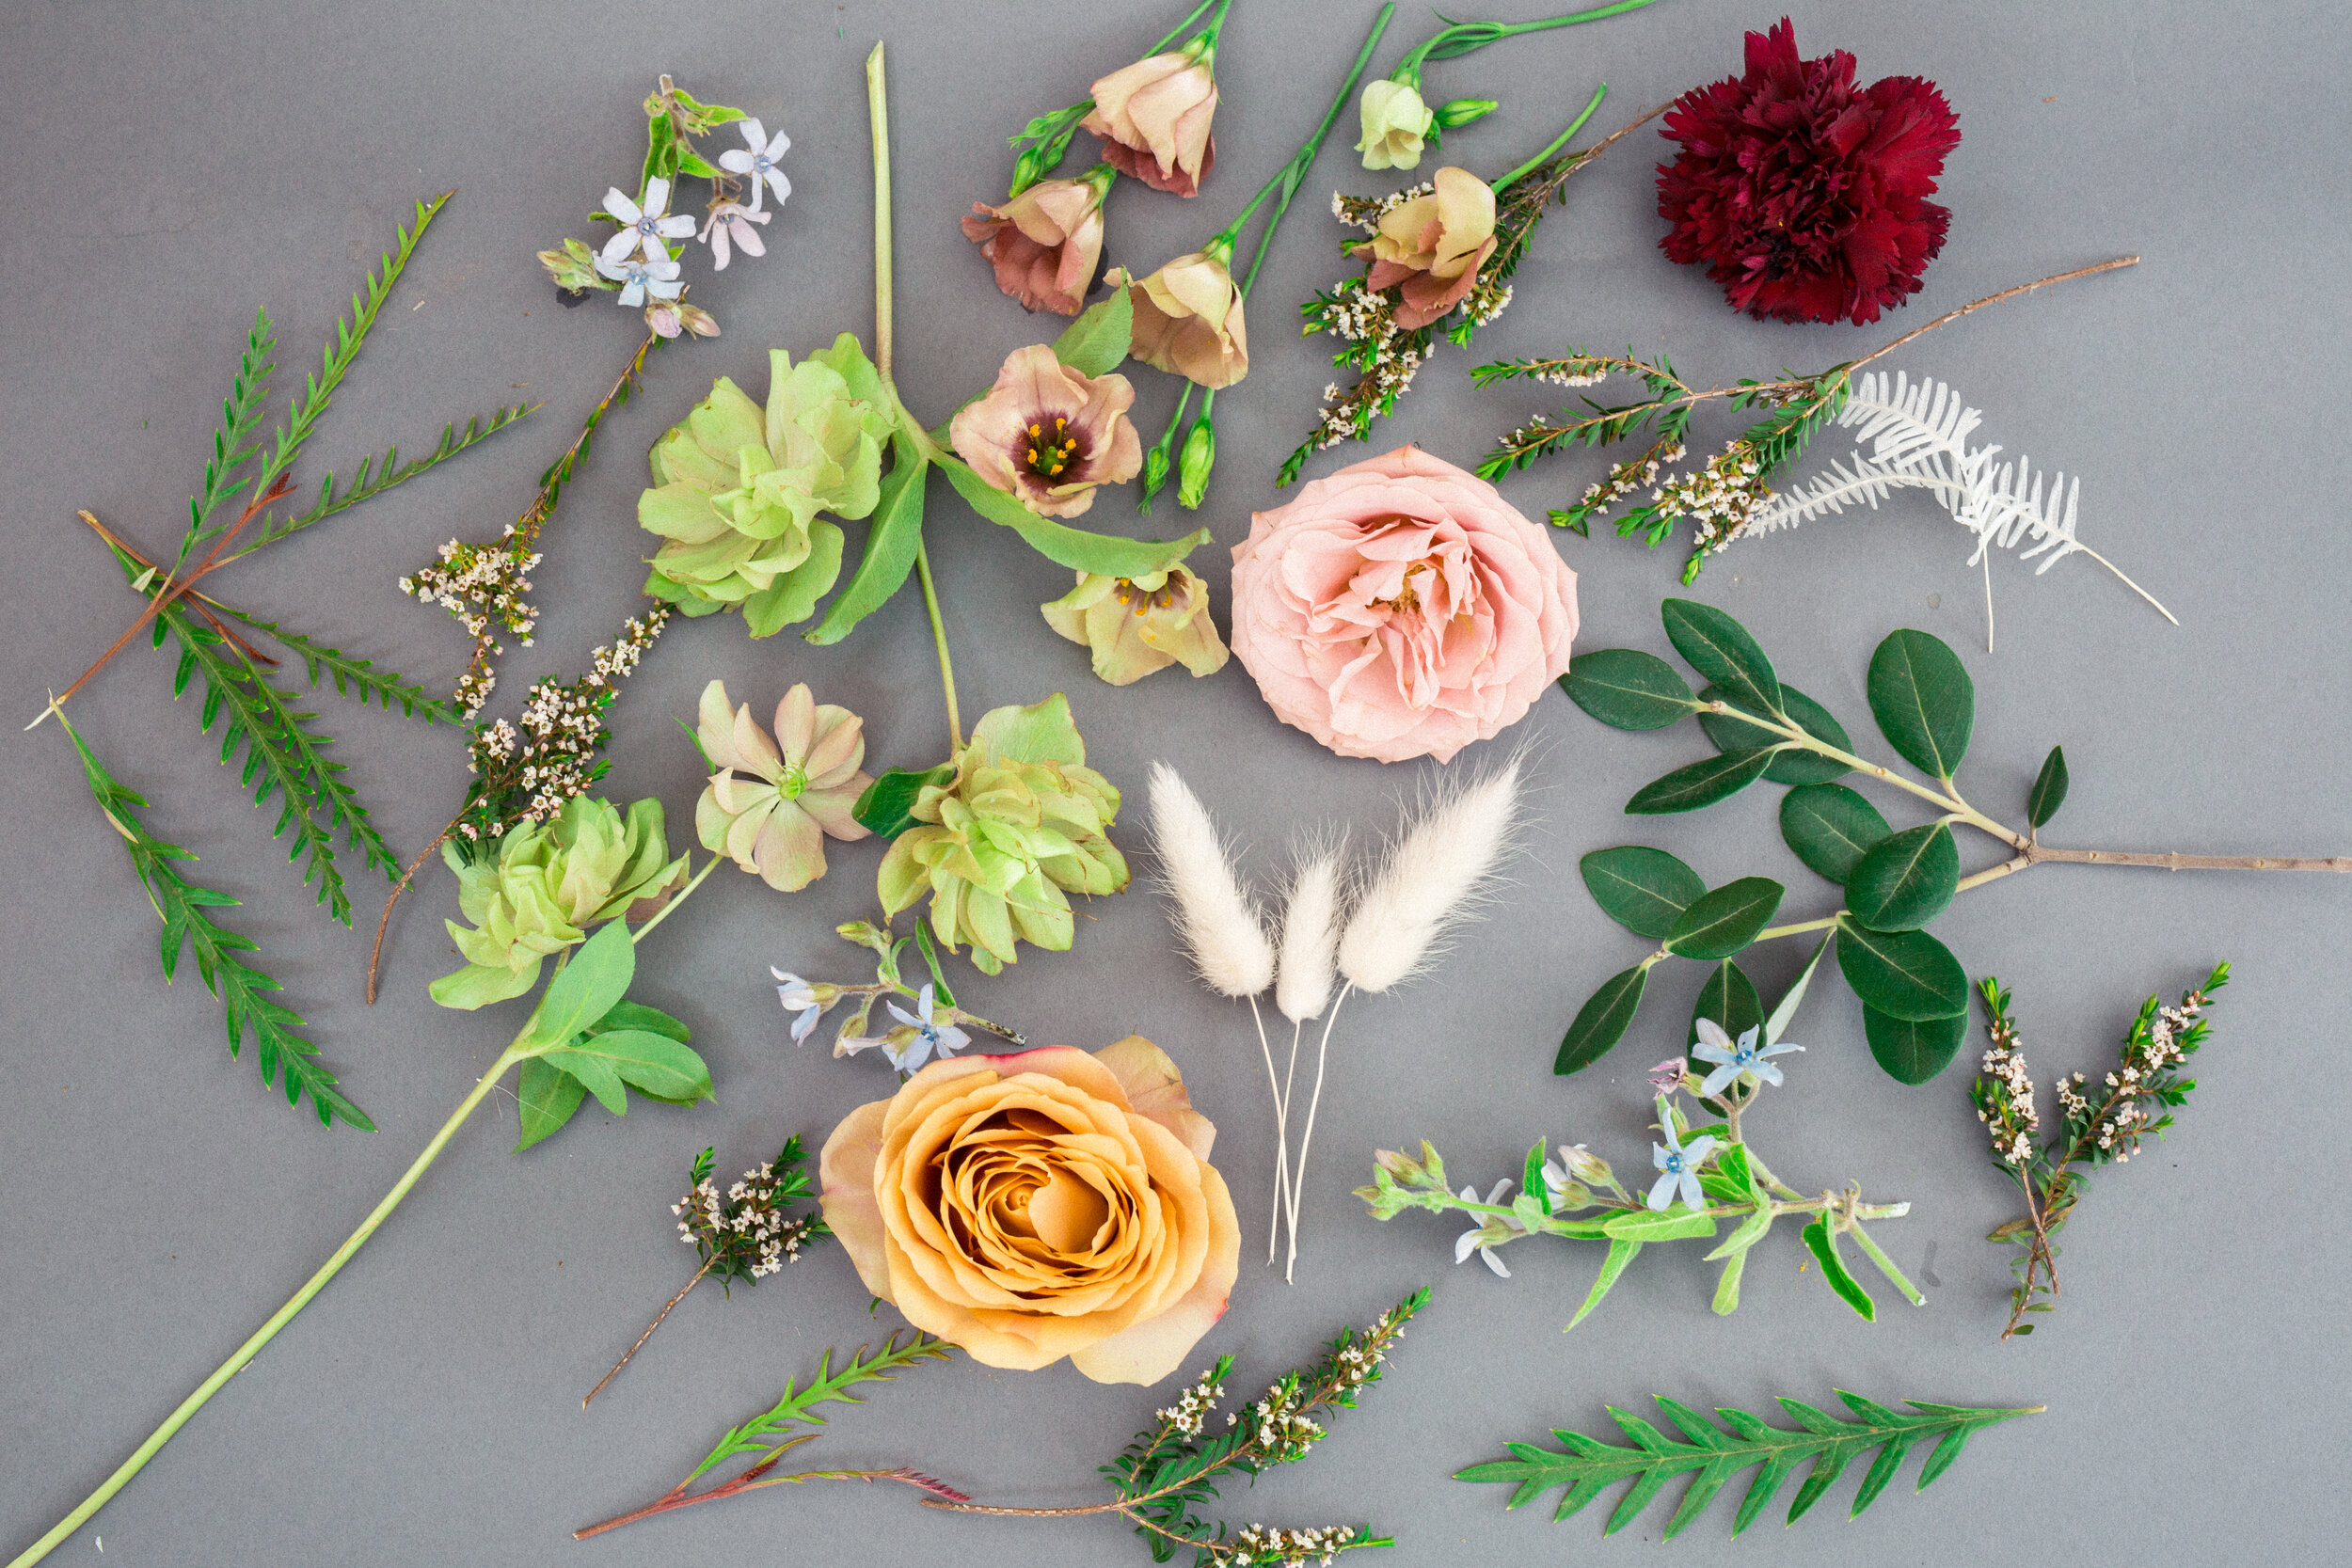
Bouquet Recipe:
Flowers:
-
5 Cappuchino Roses
-
5 Golden Mustard Roses
-
4-6 Roseanne Brown Lisianthus
-
4-5 Helleborus
-
4-6 Blue Tweedia
-
Calcynia (filler flower) As needed
Greenery :
-
1/5 bunch Grivellia
-
1/4 bunch Ralphi Greenery (v similar to eucalyptus)
-
Bleached Bunny Tail accents
|
 |
 |
 |
Now you will feel even MORE empowered to DIY your wedding flowers like a boss!
Here is the fast, at a glance, version of the tutorial, but you can find the regular speed version HERE.
Here’s what you’ll need:
Supplies:
-
Vase (here is a similar one to what I used in the tutorial)
-
Make it something you want to use at your reception so you can reuse your gorgeous bouquet at your head table!
-
Ideally you want it to be no more than 5” in diameter (measure across the opening of the vase)
-
And make sure it’s not too tall. I say between 5”-6” is great. You can certainly use a taller vase but it makes it a bit harder to design in (remember, we want to set you up for success here!)
-
-
Floral Tape or a 8” Zip Tie
-
Water
-
Ribbon of your choice
Flower Recipe:
Greenery:
-
1/5 bunch Grivellia
-
1/4 bunch Ralphi Greenery (similar to eucalyptus)
-
4-6 stems Bleached Bunny Tail accents
Floral:
-
5 Cappuccino Roses
-
5 Golden Mustard Roses
-
4-6 Roseanne Brown Lisianthus
-
4-5 Helleborus
-
4-6 Blue Tweedia
-
Calcynia (filler flower) As needed
-
5 Burgundy Carnations (Burgundy accents added later for color palette difference)
Method:
-
Find a vase you like that you can repurpose at your wedding. Remember, this bouquet will be pulling double duty at your wedding! First to walk you down the aisle, then make a space of your choice special at your reception!
-
Set up your work area and gather your supplies. In this tutorial I used a vase, snips, zip ties, and water. I like to keep a rag or two near the workspace for easy clean up for small spills (stems drip!).
-
Prep your flowers and greenery, faux or fresh. (In this tutorial we are using fresh flowers, but you can use either.) Pick out your favorite blooms and clean off any unwanted leaves or petals that look less than stellar. Snip the greenery into smaller, more manageable-sized stems. Don’t snip too short, but if you’re working with a carnation stem (they can get hella long) give it a snip to shorten it a bit.
-
Fill the vase halfway with water and begin with your greenery. We ALWAYS start with greenery and have found it will tell you where the flowers go! I start placing the greenery in a criss-crossing fashion. We want to create a sort of upside down tee-pee in the vase. This creates a firm base for the flowers to be held up. Keep layering your greenery in until you either don't want any more greenery, or have enough that you feel you can move on to the flowers. Remember - greenery is the bra of the arrangement - it supports the flowers.
-
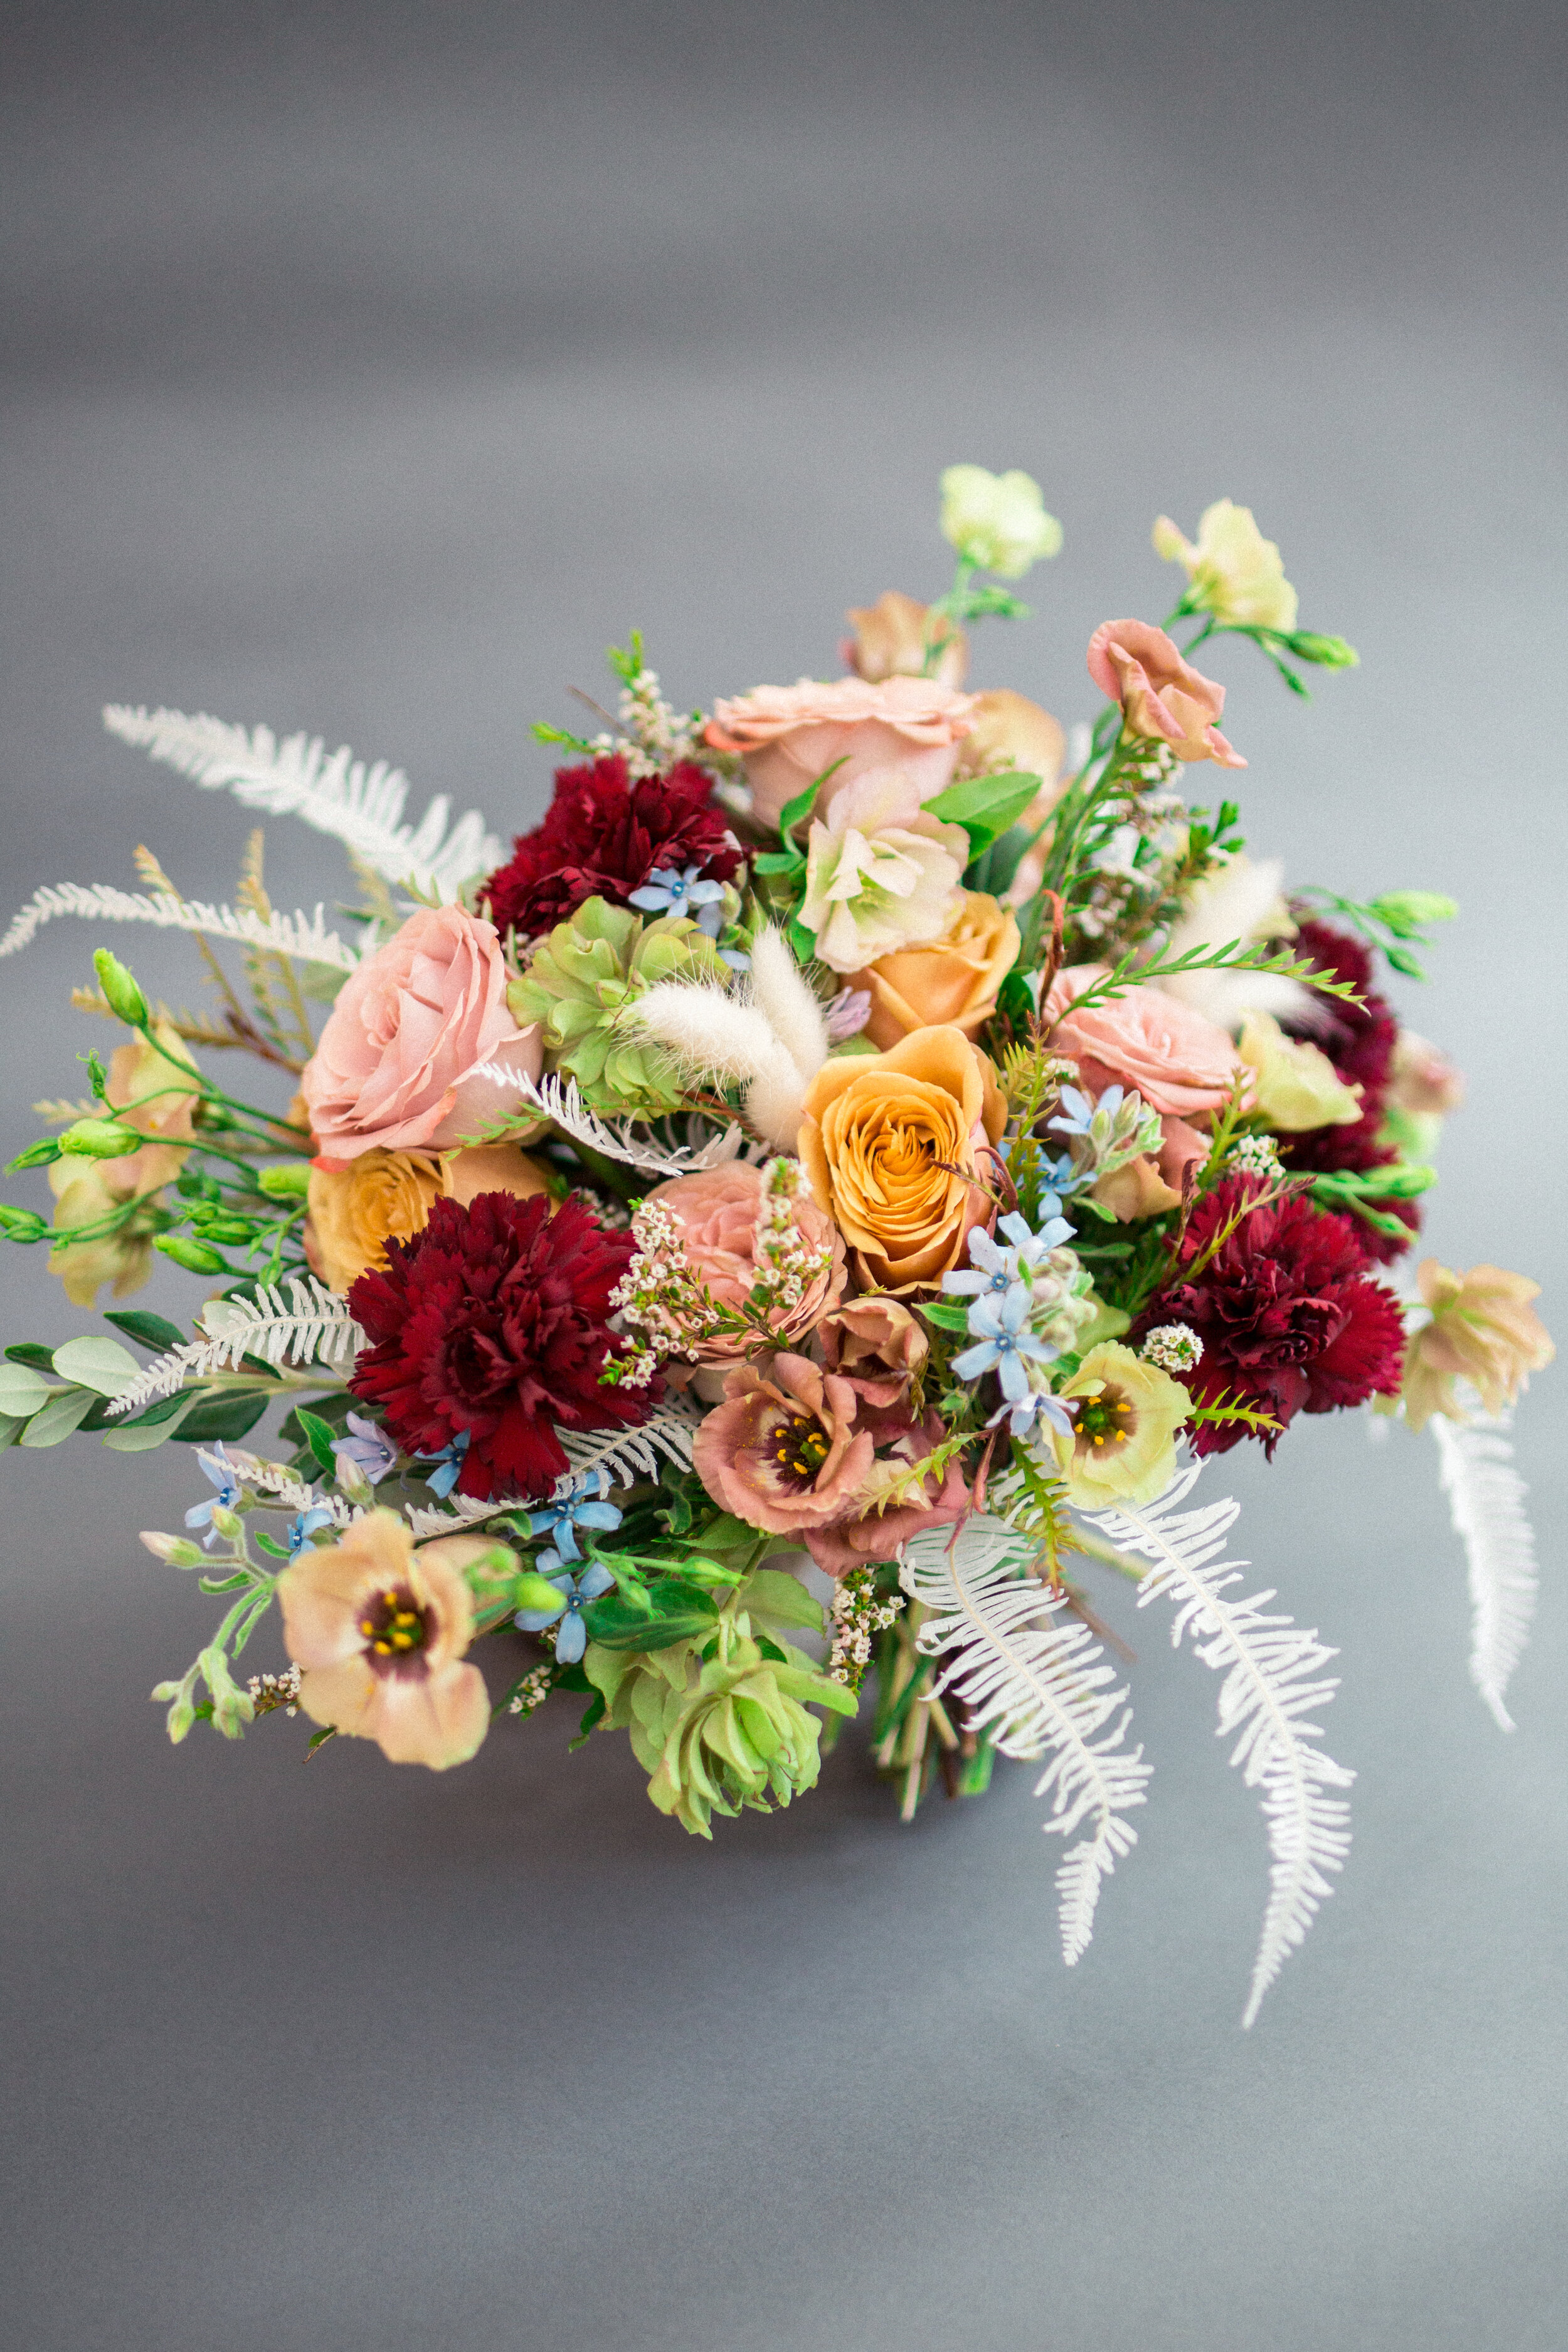
Once the greenery is set up and ready to go, you can start with your flowers. Each recipe is different but I usually start with linear blooms such as stock, snapdragon, or larkspur to name a few. Then move on to focal flowers such as roses, peonies, or other blooms that are eye catching. Then I fill in with spray blooms such as spray roses or mini carnations. Lastly I use alllll the filler flowers such as wax flower, baby’s breath, or statice to name a few .
Pro tip: Watch our video tutorial for a visual explanation and step by step instructions, linked above.
-
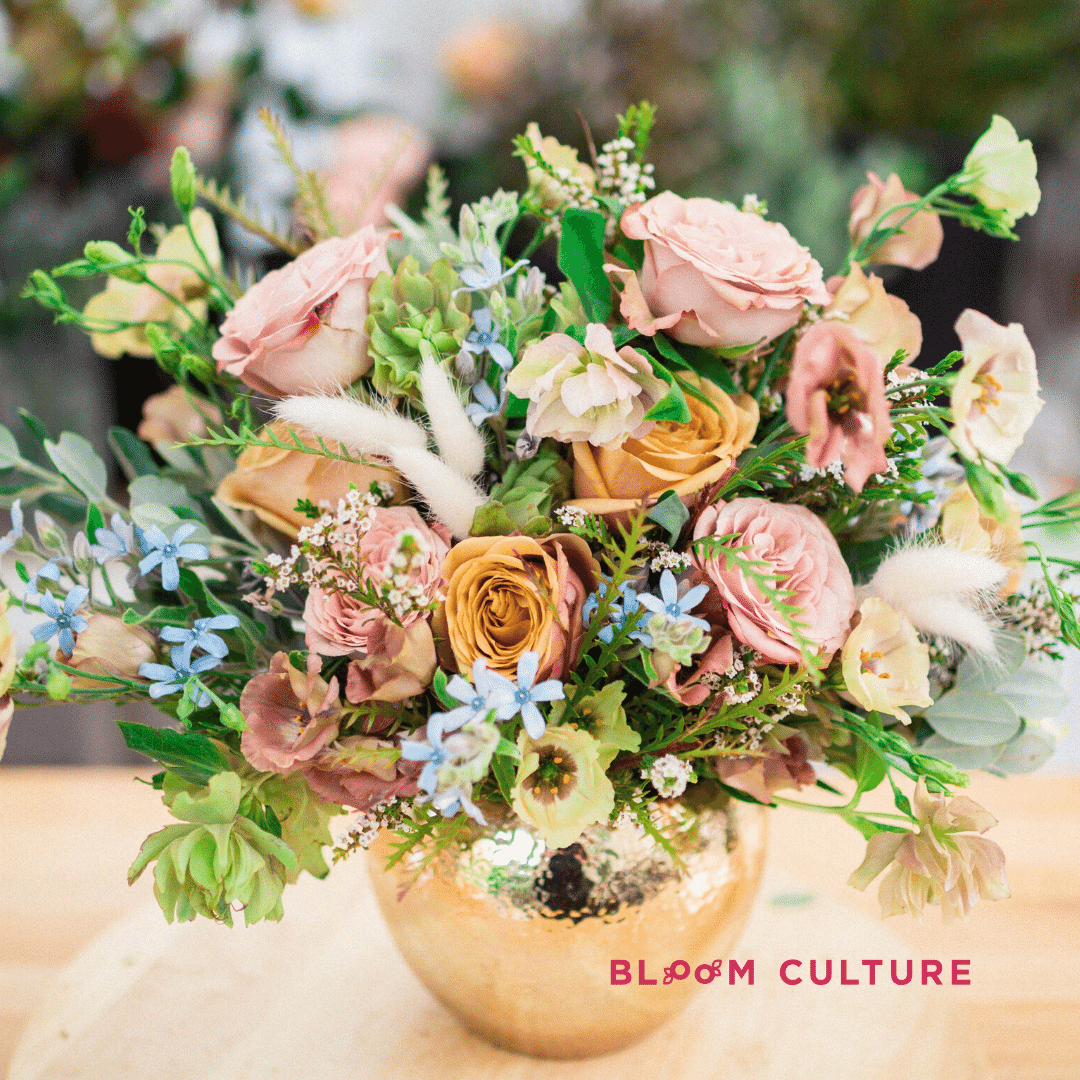
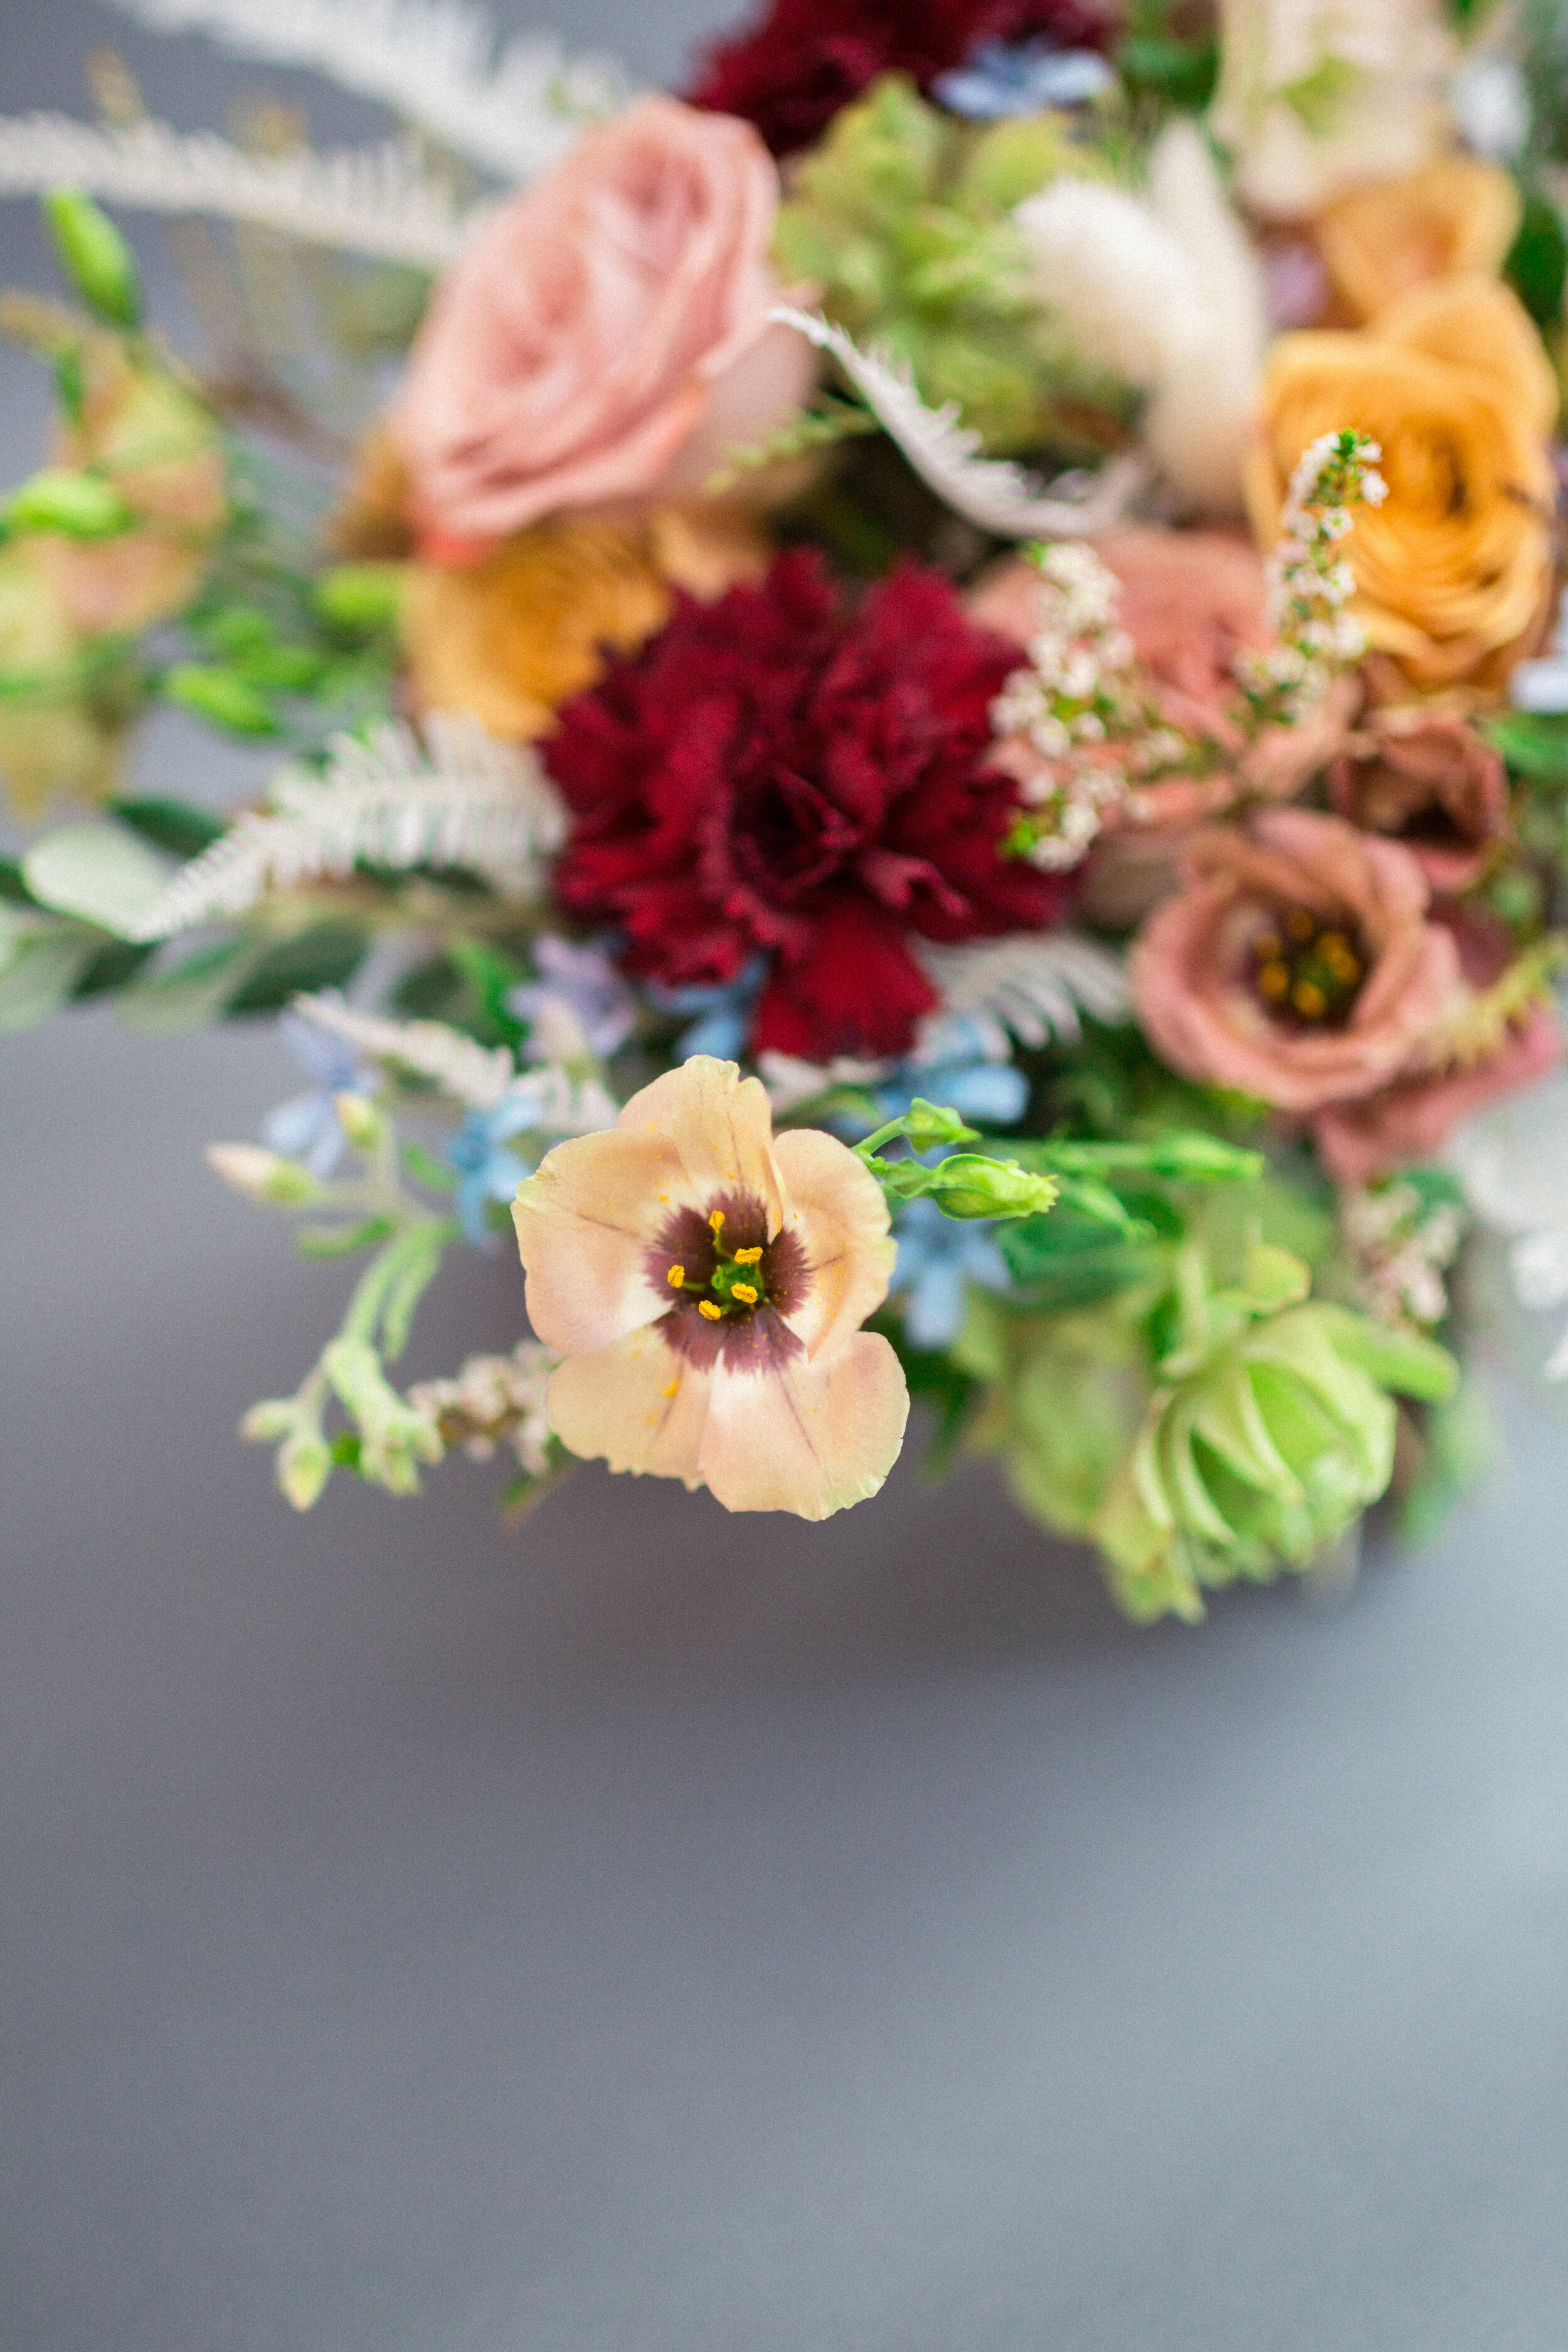
Finishing touches. If you want more detail in your bouquet you can use more filler flowers or greenery to create more depth and composition. If you have any leftover flowers from the recipe feel free to use them or save them for something else. We also used some dried bits like the bleached bunny grass and bleached palm fern. You can use dried and dyed material which is trending right now, or you can keep it simple (and beautiful) with greenery and blooms.

|
 |
 |
Care Tips:
Once you are finished with your bouquet, find a cool, dark, dry place to let it hang out until it’s show time. Make sure it has plenty of fresh clean water to drink up.
Pro Tip:
Make sure you have a rag or paper towel close by when you take your bouquet out of the vase - you don’t want to get drips all over your perfect dress! Also, you can put your ribbon on at the last minute to make sure it stays dry!
Pep Talk:
You can do this if: You have hands. Literally, ANYONE can do this. I can’t preach it enough. You don’t have to have been a part of the gifted and talented program in grade school to qualify. If you can hold flowers and use a step above the training scissors YOU ARE GOOD TO GO! Just take your time, follow the instructions, and have fun!
Doing your own wedding flowers has never been easier. With Bloom Culture we set you up with a guided approach and a step by step process. We give you flower recipes, supplies list, timeline, tutorials and so much more! We are your one stop shop for all things DIY Flowers and we can ship the flowers directly to your door!
Leave a comment